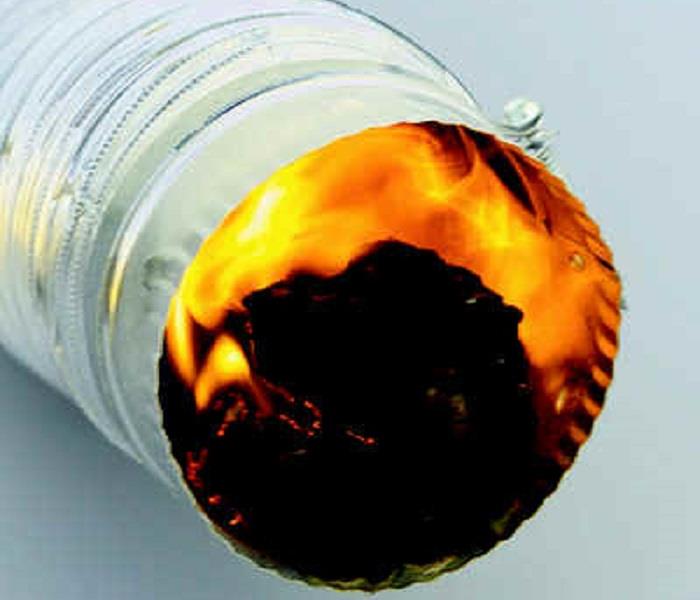
Another valuable fire safety tip when it comes to dryer vents!
12/4/2018 (Permalink)
Protect your clothes—and possibly a whole lot more—with these simple maintenance tips:
Not taking care of your dryer causes several issues, starting with longer drying times, which can lead to shrunken clothes and heat-damaged fabrics. It can also drive up your utility bills, since the dryer is one of the more energy-intensive appliances in the home.
Another symptom of poor dryer maintenance: your dryer's automatic cycles could start to be less accurate, resulting in laundry that's either damp or dried to a crisp.
Last but certainly not least, a neglected dryer poses a serious fire hazard. In fact, some 7,000 fires, 200 injuries, and 10 deaths are attributed each year to dryer fires, according to estimates by the Consumer Product Safety Commission. Not cleaning the dyer is the leading cause of the blazes.
Here’s how to get peak performance, efficiency, and safety out of your clothes dryer in a few simples steps.
Step 1: Empty the Lint Screen
This needs to happen every time you use the dryer. Not every week or every so often—every single time. If you allow too much lint to build up on the screen, heated dryer air won’t move freely through the machine, which will prolong drying times.
Step 2: Clean the Dryer Vent
Even if you’re diligent about emptying the lint screen, small fibers will get through the trap and into your dryer vent. Left unchecked, this lint can slowly snowball, to the point where an errant spark could lead to a serious conflagration inside the dryer vent. That’s why it’s critical to clean the dryer vent every few months or so, depending on how often you use the dryer and the types of laundry you dry.
It’s a pretty simple task, assuming you can access the dryer vent by pulling the dryer away from the wall (if not, you’ll need to hire a professional). Always disconnect the dryer from its main power source at your home's electric panel. Then separate the vent from the dryer and vacuum both ends using the crevice attachment of your vacuum.
A few years ago, we tested the Lint Lizard, a device that can be attached to the end of your vacuum. It was extremely effective at sucking up dryer lint, so it might be worth the $10 investment. Just note the Lint Lizard’s sharp point could harm flexible dryer ducts made of foil or plastic. That being said, we strongly recommend metal dryer ducts, because they don't sag, making lint less likely to build up. Also, if a fire does start, a metal dryer vent is more likely to contain it than one made of plastic or foil.
Step 3: Clean the Moisture Sensors
Our top-rated dryers all have moisture sensors that work in conjunction with auto-dry cycles to detect the laundry’s dampness and shut off the machine when clothes are dry. Over time, these sensors can get covered with film, especially if you use dryer sheets. The buildup can prevent the dryer from knowing when the laundry is dry, leaving them either damp or overcooked.
To counter this problem, clean the sensors with a cotton ball and rubbing alcohol every few months, or any time the auto-dry cycles seem to be missing the mark. The sensors are usually located just inside the dryer, underneath the door. Look for thin metal bars, about 6 inches long, with a slight curve that follows the contour of the door. If you don't see the sensors there, check your owner's manual for their location.
Be diligent and avoid fire hazards! If you have experience fire and/or water damage in your home or business, call SERVPRO of Western Dutchess County to alleviate the burden of restoration, 845-831-3600.
(reference: Consumer Reports, How to Clean Your Dryer Vent and Other Quick Tips, https://www.consumerreports.org/clothes-dryers/how-to-clean-your-dryer-vent/)


 24/7 Emergency Service
